Introduction to The Registration Process for The SAT Exam
Author
Hartwell
Date Published
Register an account
Registration official website
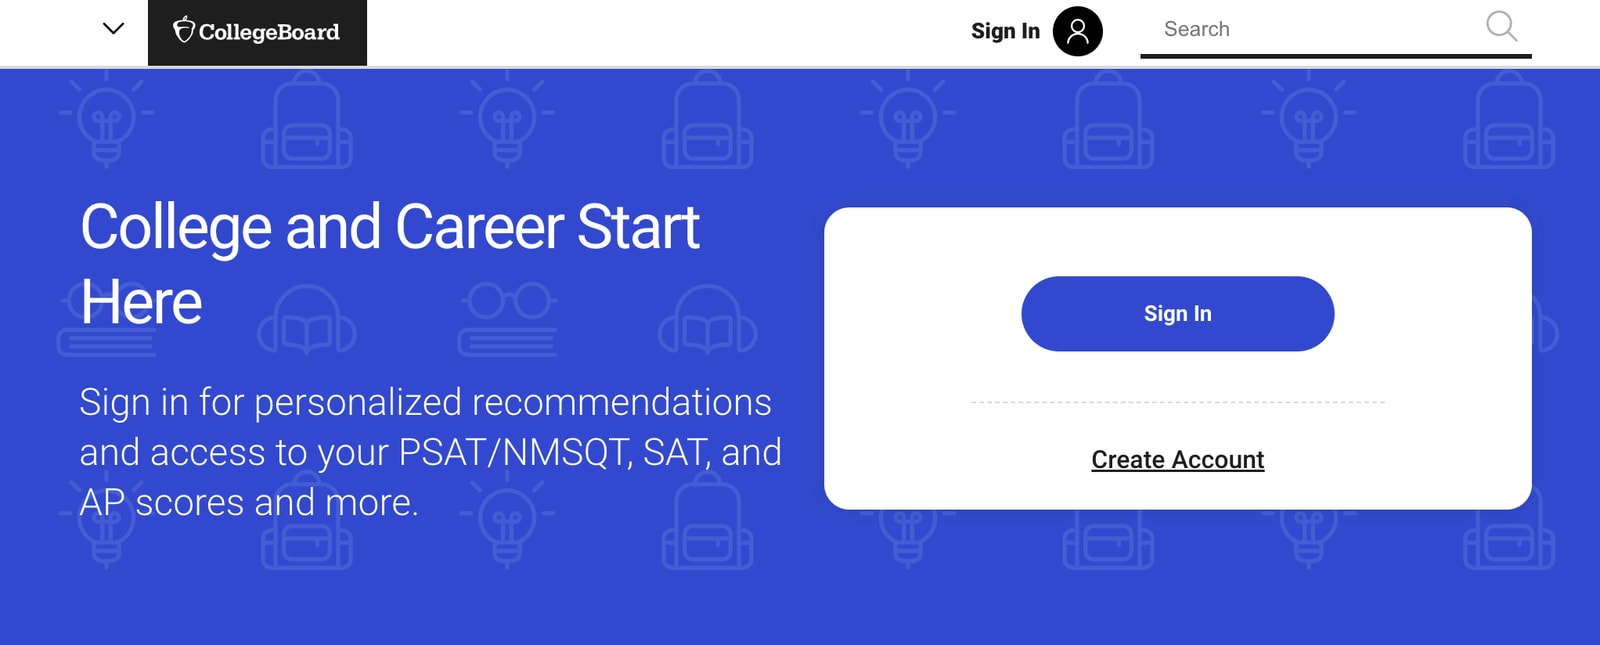
To register SAT test, please visit the College Board official website. Students who have already registered directly fill in the Username and Password, and click "Sign in" to log in. Students who have not registered before, click "Creare Account" to register:
Select Student to enter the student account registration process page:

Fill in all kinds of basic information (name, gender, date of birth, etc.) truthfully. Things to note are as follows:
-1600x1650.jpg)
First Name, Last Name, Gender, and Date of birth must be consistent with valid documents. After the information is confirmed, you cannot change it yourself. For subsequent changes, you need to contact the official by phone or email;
-1600x1759.jpg)
The e-mail account must be commonly used and stable to avoid missing important official notifications;
High school graduation is the graduation time of high school;
For ZIP/Postal code, non-U.S. students can just check Outside the U.S.;
Items without * are optional and can be left blank.
-1600x1001.jpg)
-1600x963.jpg)
After submission, confirm the filled in information, go to your email to check the verification code and enter it for confirmation.
Set a password. Pay attention to the password setting requirements: 9-30 characters, at least one uppercase letter, one lowercase letter, one number and one special character (no spaces), and different from the username.
-1600x1338.jpg)
In addition, you also need to fill in a 4-20-digit verification code, which is used when calling CB to ask questions about the account; and a mobile phone number that is easy to contact, receive the verification code and fill it out.
-1600x989.jpg)
After successful registration, the following picture will appear:
-1600x1030.jpg)
Register for exam
After successful registration, enter the registration page:
-1600x1028.jpg)
-1600x601.jpg)
-1600x485.jpg)
-1600x1246.jpg)
Click the my sat, register for the SAT and get start buttons above to enter the personal information confirmation interface below.
-1600x3581.jpg)
After confirming that all the information is correct, click the confirm button to confirm, then check the final agreement, and then click continue to proceed to the next step.
Next is the 10-page auxiliary information section. You can fill it out truthfully. You can also choose "I do not want to respond" for certain questions and just fill it out in order.
-1600x1005.jpg)
This step is the core step of exam registration. Select the region where you want to take the exam (U.S. exam room, international exam room), exam type, exam date, etc.
-1600x1217.jpg)
You need to scroll the reading notes to the bottom to check the "I have read and I accept..." button.
-1600x1458.jpg)
After that, you need to confirm the examination area, examination time, examination location and other information in turn. After the examination time is confirmed, the relevant examination fees will be marked.
-1600x1362.jpg)
-1600x1527.jpg)
It is worth noting the choice of exam location. The exam locations in some places may be full or unavailable. In this case, you need to choose other regional exam locations that suit you. However, sometimes the examination room does not release all the quotas at once, and you can also swipe several times to keep an eye on the quotas.
-1600x1561.jpg)
After selecting a suitable test room, you can click Continue to proceed to the next step. Or if you are not satisfied with the test room, you can click the select a different test date button to reselect the test date and make adjustments. You can also click previous to clear the selected settings and return to select again.
-1600x1615.jpg)
After confirming the exam date and location, click Continue.
-1600x1407.jpg)
Then it’s time to upload the photos. If you have uploaded photos before, you can modify the photos here. Here we take the newly uploaded photo as an example.
-1600x1310.jpg)
-1600x1245.jpg)
After clicking get start, there will be a series of photo upload request prompts. Note: The format of the avatar photo can only be jpg, png, or gif. No jewelry or sunglasses can be worn. It can only show the head and shoulders. Do not block too much hair. Pay attention to the lighting of the photo, and do not make the photo too beautiful.
-1600x1087.jpg)
-1600x1119.jpg)
-1600x1285.jpg)
After uploading the photos, check all the boxes on the above page and click submit to upload the photos.
-1600x1399.jpg)
At this point, click next after uploading the photo successfully to complete the final registration.
-1600x3036.jpg)
Here select the equipment you need to bring into the examination room and whether you need to purchase materials and click the Continue button. The selection of materials will affect subsequent expenses.
-1600x1766.jpg)
-1600x2020.jpg)
-1600x1598.jpg)
Finally, check all the information submitted and click confirm to enter the payment process.
Note that please prepare a Visa or MasterCard with sufficient credit in advance.
Select the payment method, click "Submit", enter the payment information, fill in the card number, and complete the examination registration fee payment:
-1600x1068.jpg)
At this point, the exam registration is complete.
Related Posts
Get all the details on the Digital SAT Test—adaptive testing, built-in tools, shorter format, and why it’s more student-friendly than ever!